Hardscaping & Outdoor Construction
Built for Strength & Longevity
Hardscaping and outdoor construction create functional spaces that enhance usability while supporting long term structural performance. Proper base preparation, drainage planning, and material selection are critical to preventing shifting, settling, and premature failure. Each project is designed to handle Michigan’s freeze thaw cycles and heavy use. The result is outdoor features that perform as well as they look.
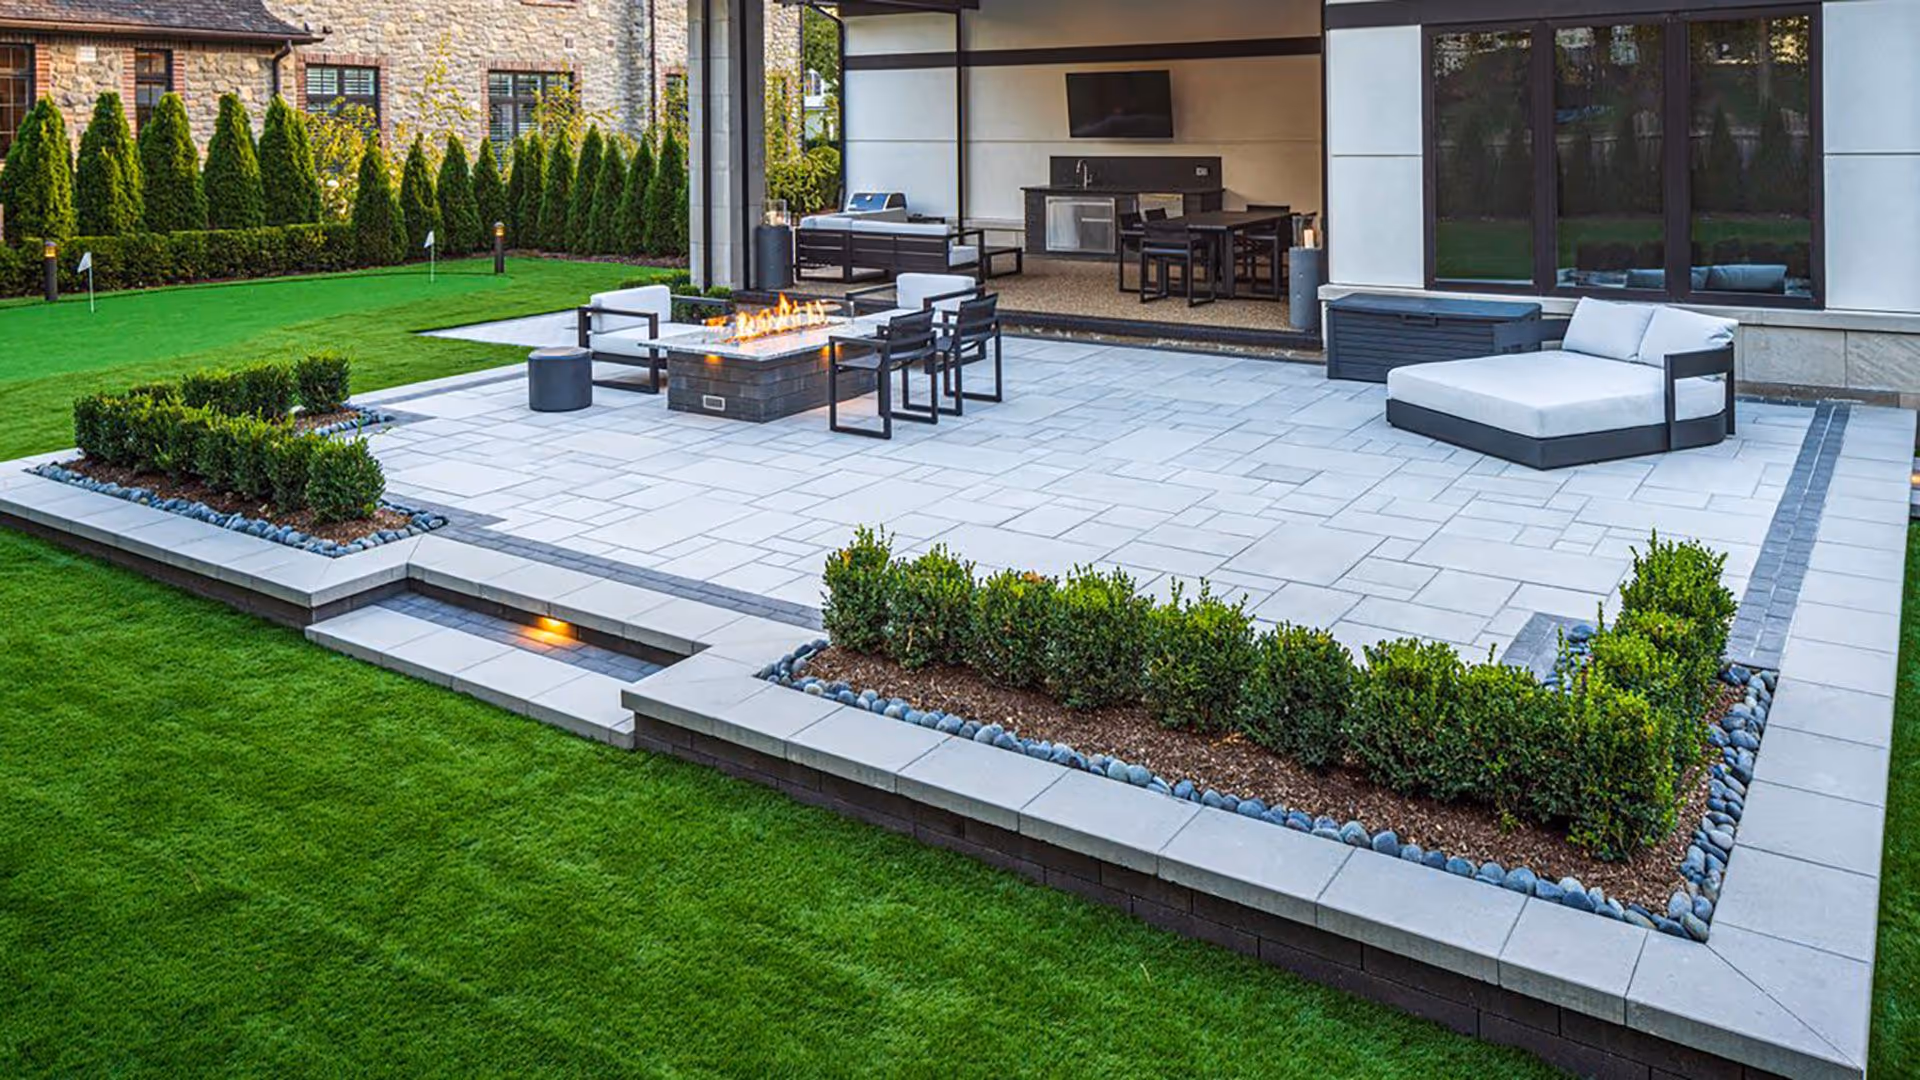
Paver Patios & Walkways: Durable paver surfaces designed for proper drainage, load support, and long term stability.
Retaining Walls: Engineered walls that manage elevation changes, control soil movement, and protect surrounding landscapes.
Precision in Every Detail
Successful hardscape projects begin with careful planning and precise installation methods. ROI Property Services selects proper base materials, compaction techniques, and edge restraint systems to ensure lasting structural integrity. Attention to grading and water movement prevents erosion and surface damage over time. This performance driven approach reduces maintenance and extends the life of each installation.
Seat Walls: Integrated seating solutions that provide structure, function, and clean visual lines within outdoor spaces.
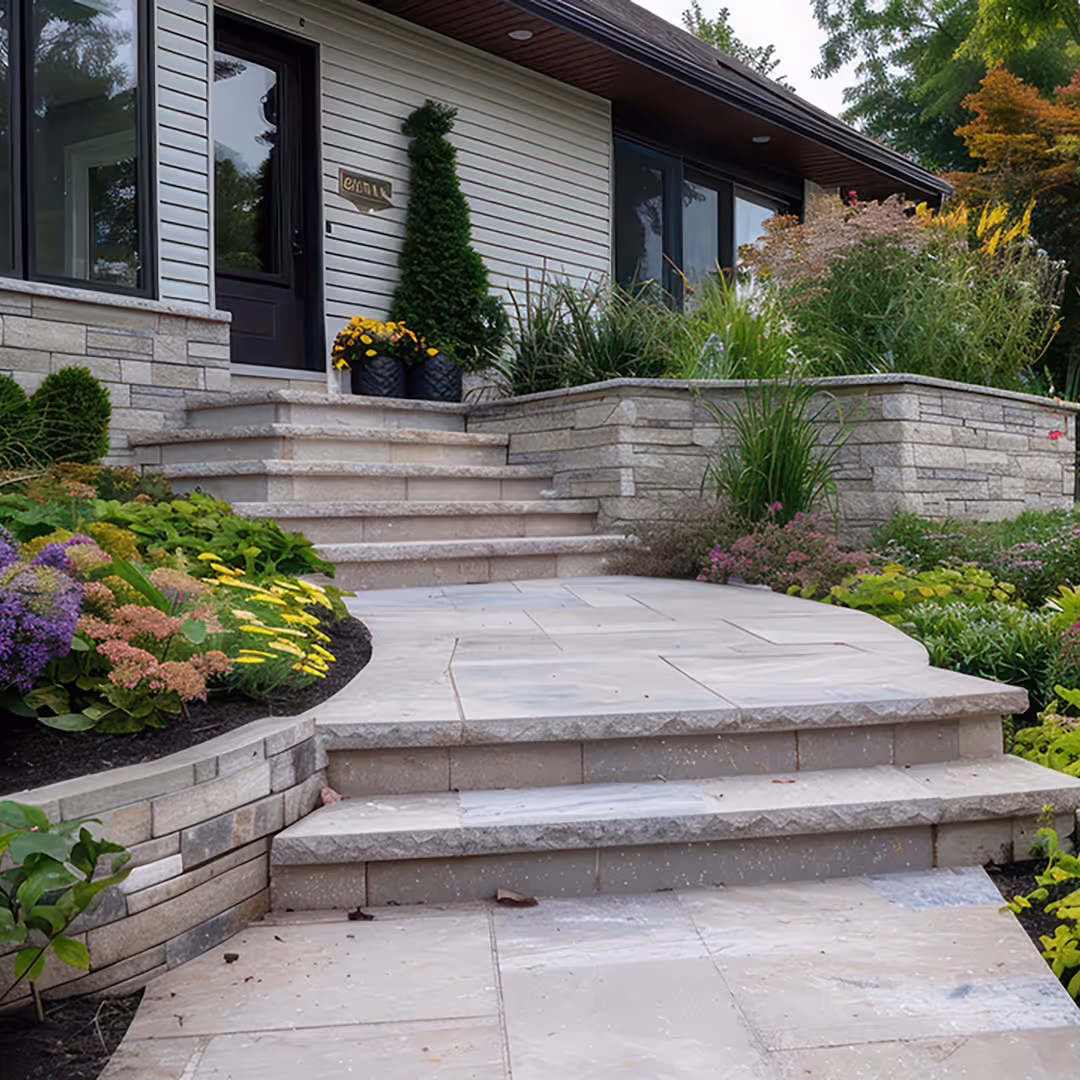
Steps & Landings: Safely constructed transitions designed to manage elevation changes while maintaining consistent aesthetics.
Function Meets Craftsmanship
Hardscaping features should enhance how outdoor spaces are used while adding long term property value. Fire features, driveways, and entryways are designed to blend performance with refined appearance. Materials are selected for durability, safety, and compatibility with surrounding structures. Each element is installed with attention to both form and function.
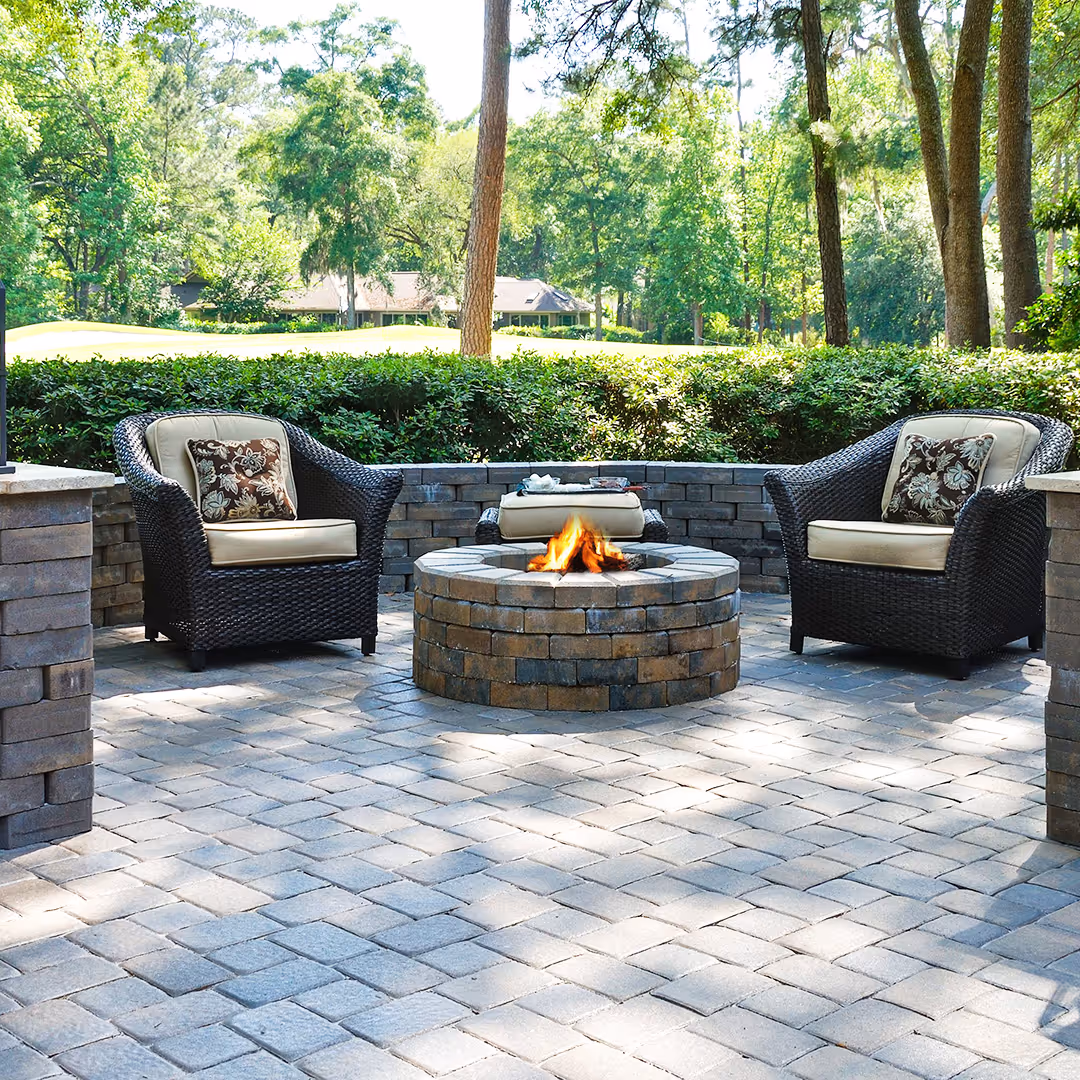
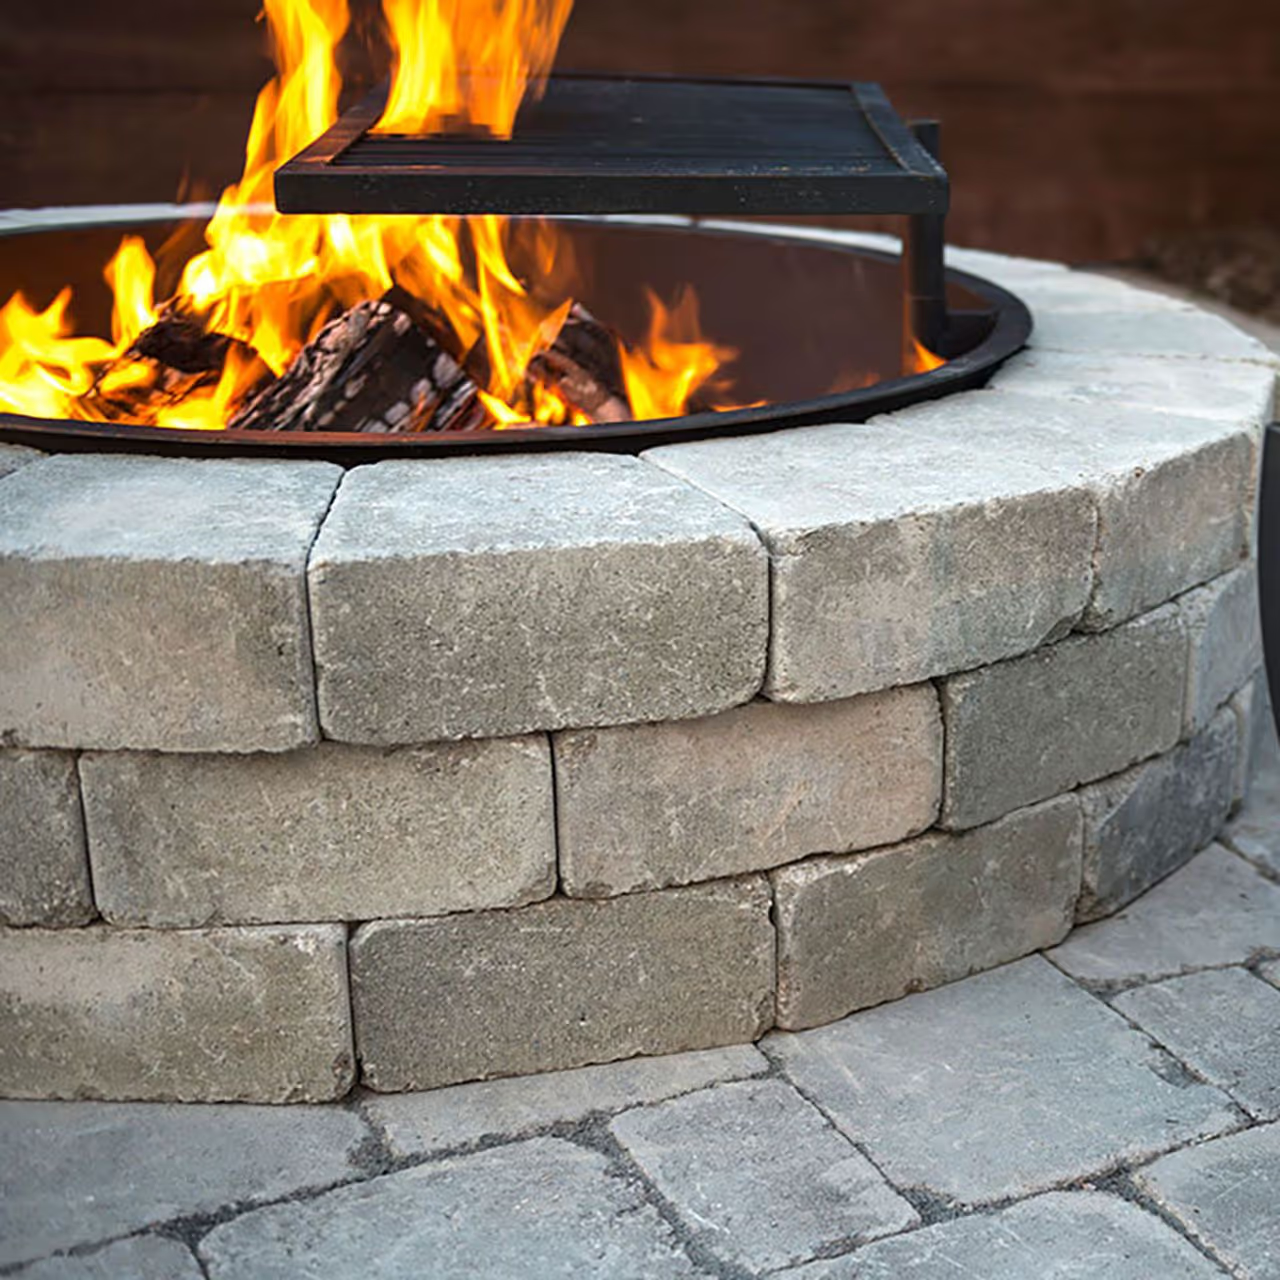
Fire Pits & Fire Features: Custom built features that create inviting outdoor gathering spaces while meeting safety and structural standards.
Driveway Pavers & Overlays: High strength paving solutions that improve curb appeal, manage runoff, and support vehicle loads.
Ready to see your outdoor vision come to life?
